Installing a solar fan is a rewarding project that not only helps you save on energy costs but also contributes to a more sustainable environment. As a solar fan supplier, I've seen firsthand the benefits that solar fans bring to homes and businesses. In this blog post, I'll guide you through the step - by - step process of installing a solar fan, ensuring that you can enjoy its cooling benefits with ease.
Step 1: Choose the Right Location
The first and most crucial step in installing a solar fan is selecting the appropriate location. Solar fans rely on sunlight to generate power, so you need to find a spot that receives ample sunlight throughout the day. A south - facing roof or a high - elevation area in your yard is usually ideal. Avoid areas that are shaded by trees, buildings, or other obstructions, as this can significantly reduce the fan's efficiency.
When choosing the location, also consider the purpose of the fan. If you're using it to ventilate a specific room, ensure that the fan is placed in a position where it can effectively draw out hot air and circulate fresh air. For example, if you're installing the fan in an attic, place it near the peak of the roof where hot air tends to accumulate.
Step 2: Gather the Necessary Tools and Materials
Before you start the installation process, make sure you have all the tools and materials you need. Here's a list of the essentials:
- Solar fan unit
- Mounting brackets
- Screwdriver set
- Drill with appropriate bits
- Wire cutters and strippers
- Electrical tape
- Roof sealant
It's also a good idea to have a helper on hand, especially when dealing with heavy components or working at heights. Safety should always be your top priority, so wear appropriate safety gear such as gloves and goggles.
Step 3: Prepare the Installation Site
Once you've chosen the location, it's time to prepare the installation site. If you're installing the fan on a roof, clean the area where the mounting brackets will be attached. Remove any dirt, debris, or loose shingles. This will ensure a secure and stable installation.
If you're installing the fan in a different location, such as a wall or a pole, make sure the surface is flat and sturdy. Use a level to check for any unevenness and make any necessary adjustments.
Step 4: Mount the Solar Panel
The solar panel is the heart of the solar fan system, as it converts sunlight into electricity. Start by attaching the mounting brackets to the solar panel according to the manufacturer's instructions. Then, position the solar panel in the chosen location and mark the holes for the screws.
Use a drill to create the holes and secure the solar panel to the mounting surface using the screws. Make sure the solar panel is firmly attached and angled towards the sun for maximum sunlight exposure. The ideal angle depends on your geographical location, but generally, a tilt of 30 - 45 degrees is recommended.
Step 5: Connect the Wiring
After mounting the solar panel, it's time to connect the wiring. First, locate the wiring harness on the solar panel and the fan unit. Use wire cutters and strippers to expose the ends of the wires.
Connect the positive and negative wires from the solar panel to the corresponding wires on the fan unit. Make sure the connections are secure and insulated with electrical tape. This will prevent any short circuits or electrical hazards.

If your solar fan system includes a battery for storing excess energy, you'll also need to connect the battery to the wiring. Follow the manufacturer's instructions carefully to ensure proper installation.
Step 6: Install the Fan Unit
With the solar panel and wiring connected, it's time to install the fan unit. Attach the mounting brackets to the fan unit and position it in the desired location. Mark the holes for the screws and use a drill to create them.
Secure the fan unit to the mounting surface using the screws. Make sure the fan is level and properly aligned. Test the fan to ensure it's working properly by turning it on and checking the airflow.
Step 7: Seal the Installation
To prevent any water leaks or damage to your roof or installation site, it's important to seal the installation. Apply a generous amount of roof sealant around the edges of the solar panel and the fan unit. This will create a watertight seal and protect your property from the elements.
Step 8: Test the System
Once the installation is complete, it's time to test the solar fan system. Make sure the solar panel is receiving sunlight and check the fan to see if it's running. You may need to wait a few minutes for the system to charge and start operating at full capacity.
If the fan isn't working, double - check the wiring connections and make sure the solar panel is properly positioned. You can also refer to the manufacturer's troubleshooting guide for more information.
Additional Tips and Considerations
- Maintenance: Regular maintenance is essential to keep your solar fan system running smoothly. Clean the solar panel periodically to remove any dirt or debris that may block sunlight. Check the wiring connections for any signs of wear or damage and replace any faulty components as needed.
- Compatibility: When choosing a solar fan, make sure it's compatible with your existing electrical system and the location where you plan to install it. Consider factors such as the size of the fan, the power output, and the type of mounting required.
- Safety: Always follow safety precautions when installing a solar fan. If you're not comfortable working at heights or dealing with electrical wiring, it's best to hire a professional installer.
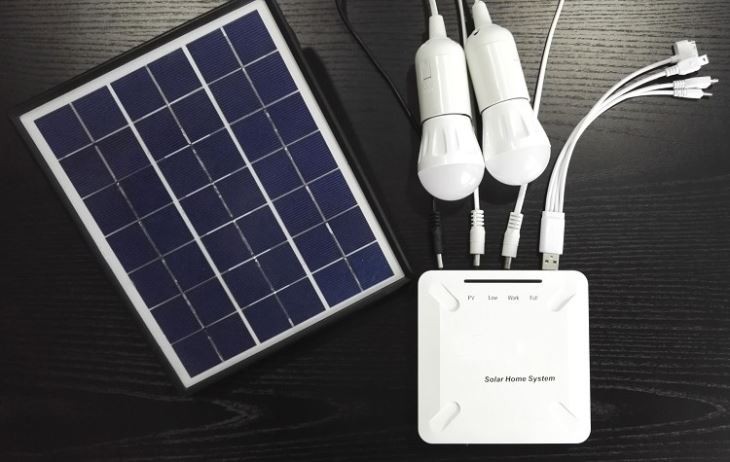
As a solar fan supplier, we also offer a range of related products that can enhance your solar energy system. For example, our Home Solar Light Kit provides a convenient and energy - efficient way to light up your home. Our Solar Linghting System is suitable for larger - scale applications, while the Mini Solar Lighting System is perfect for smaller spaces.
If you're interested in purchasing a solar fan or any of our other solar products, we encourage you to contact us for a consultation. Our team of experts can help you choose the right product for your needs and provide you with detailed installation instructions. We're committed to providing high - quality products and excellent customer service, and we look forward to working with you to create a more sustainable future.
References
- "Solar Power for Dummies" by Rik DeGunther
- Manufacturer's installation guides for solar fans
- Industry standards and best practices for solar energy installation